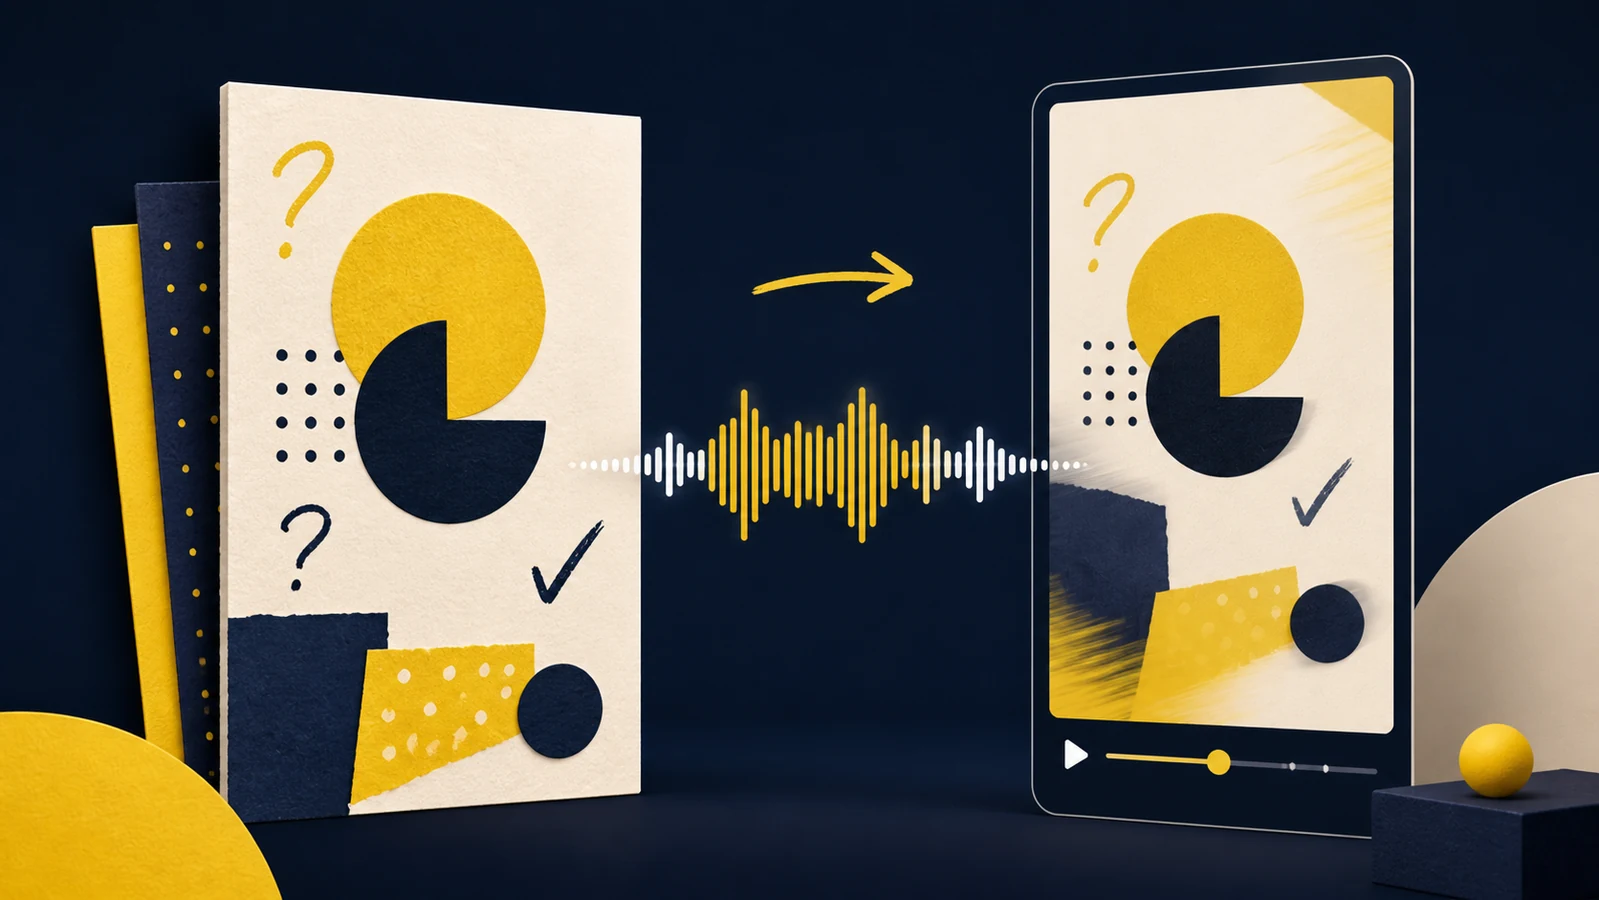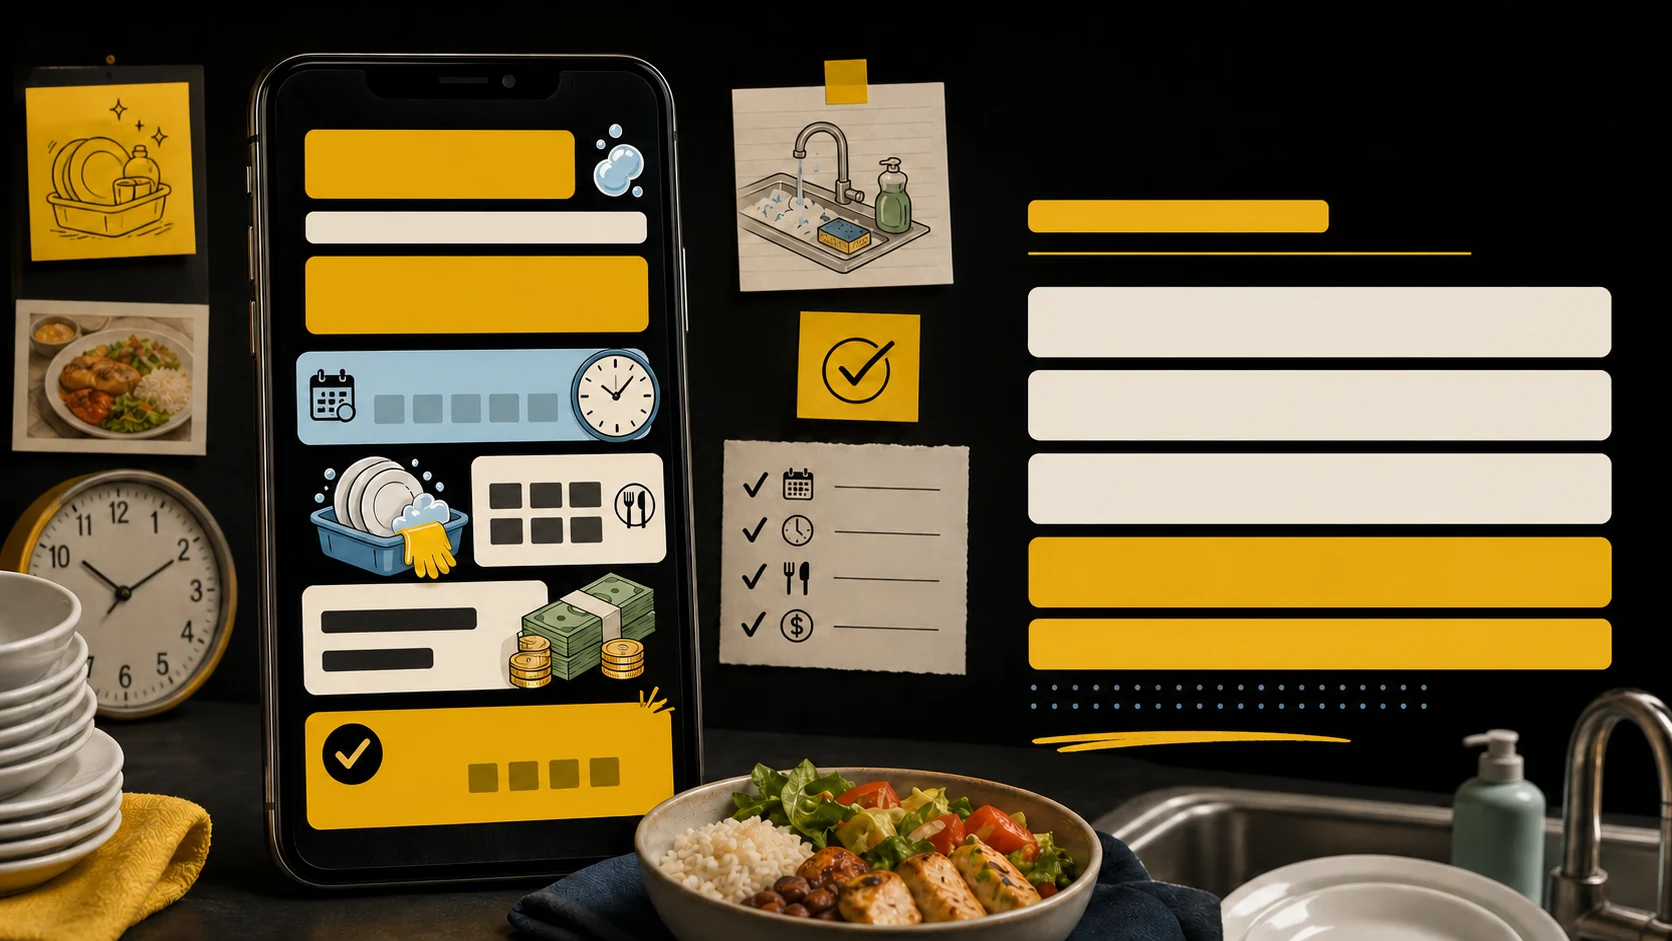
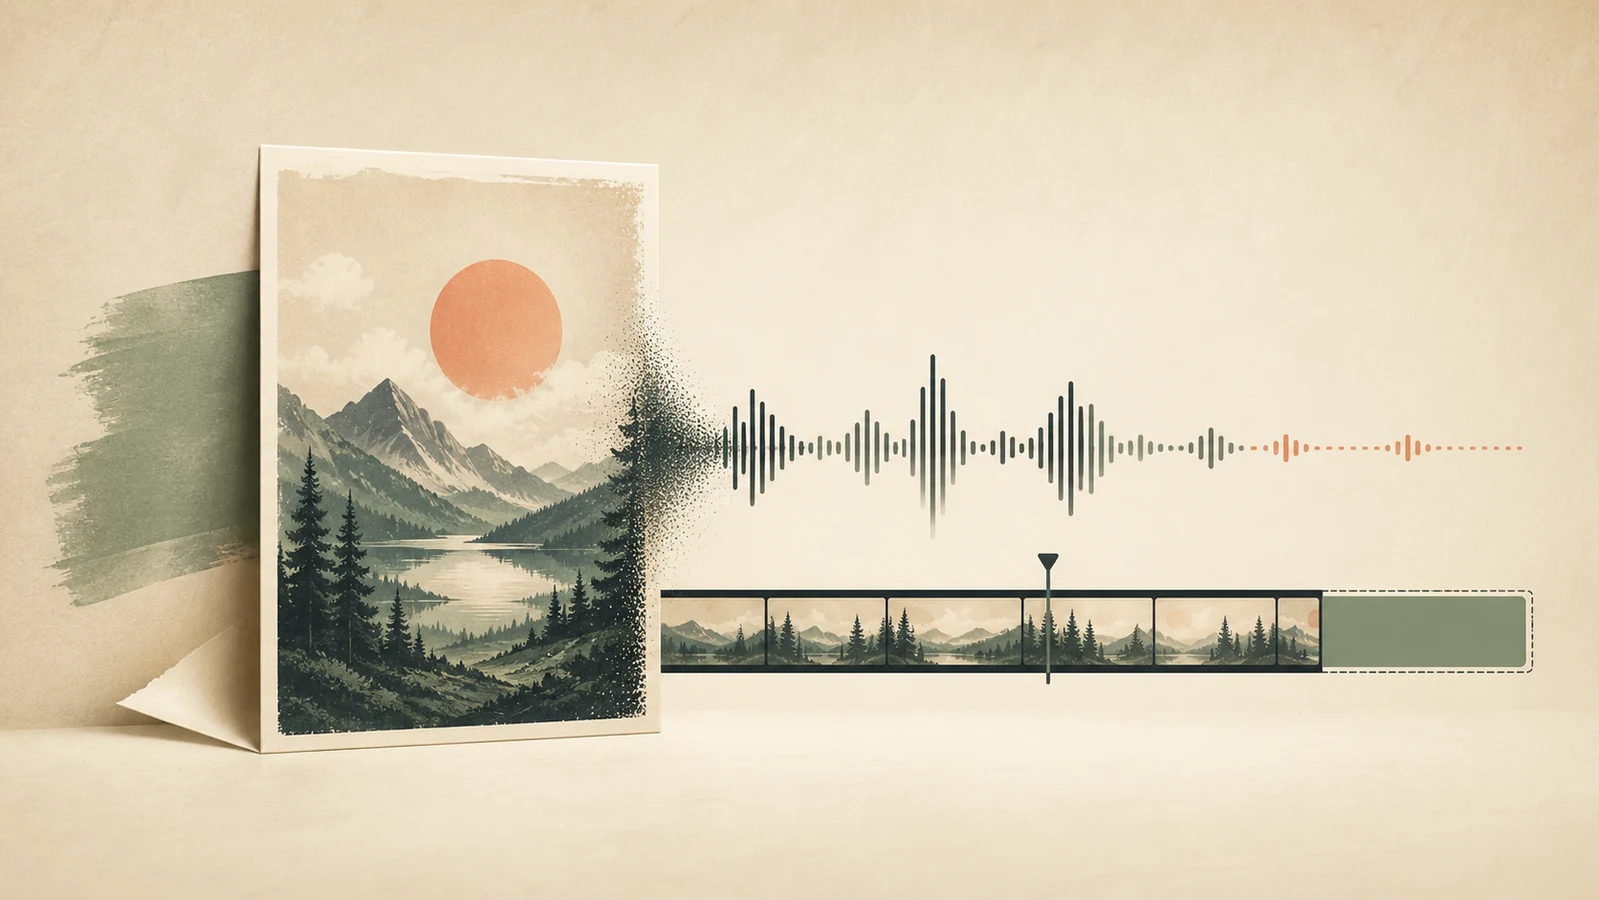
From campaign copy to a usable poster asset
[MAIN MESSAGE]

[ONE SUPPORTING DETAIL]

[DATE OR OFFER, IF NEEDED]

[NEXT STEP]
I replace every bracket with confirmed information before I generate the voice. The image and script can use different sentence lengths, but they should communicate the same offer and next step.
I begin with one image and one message
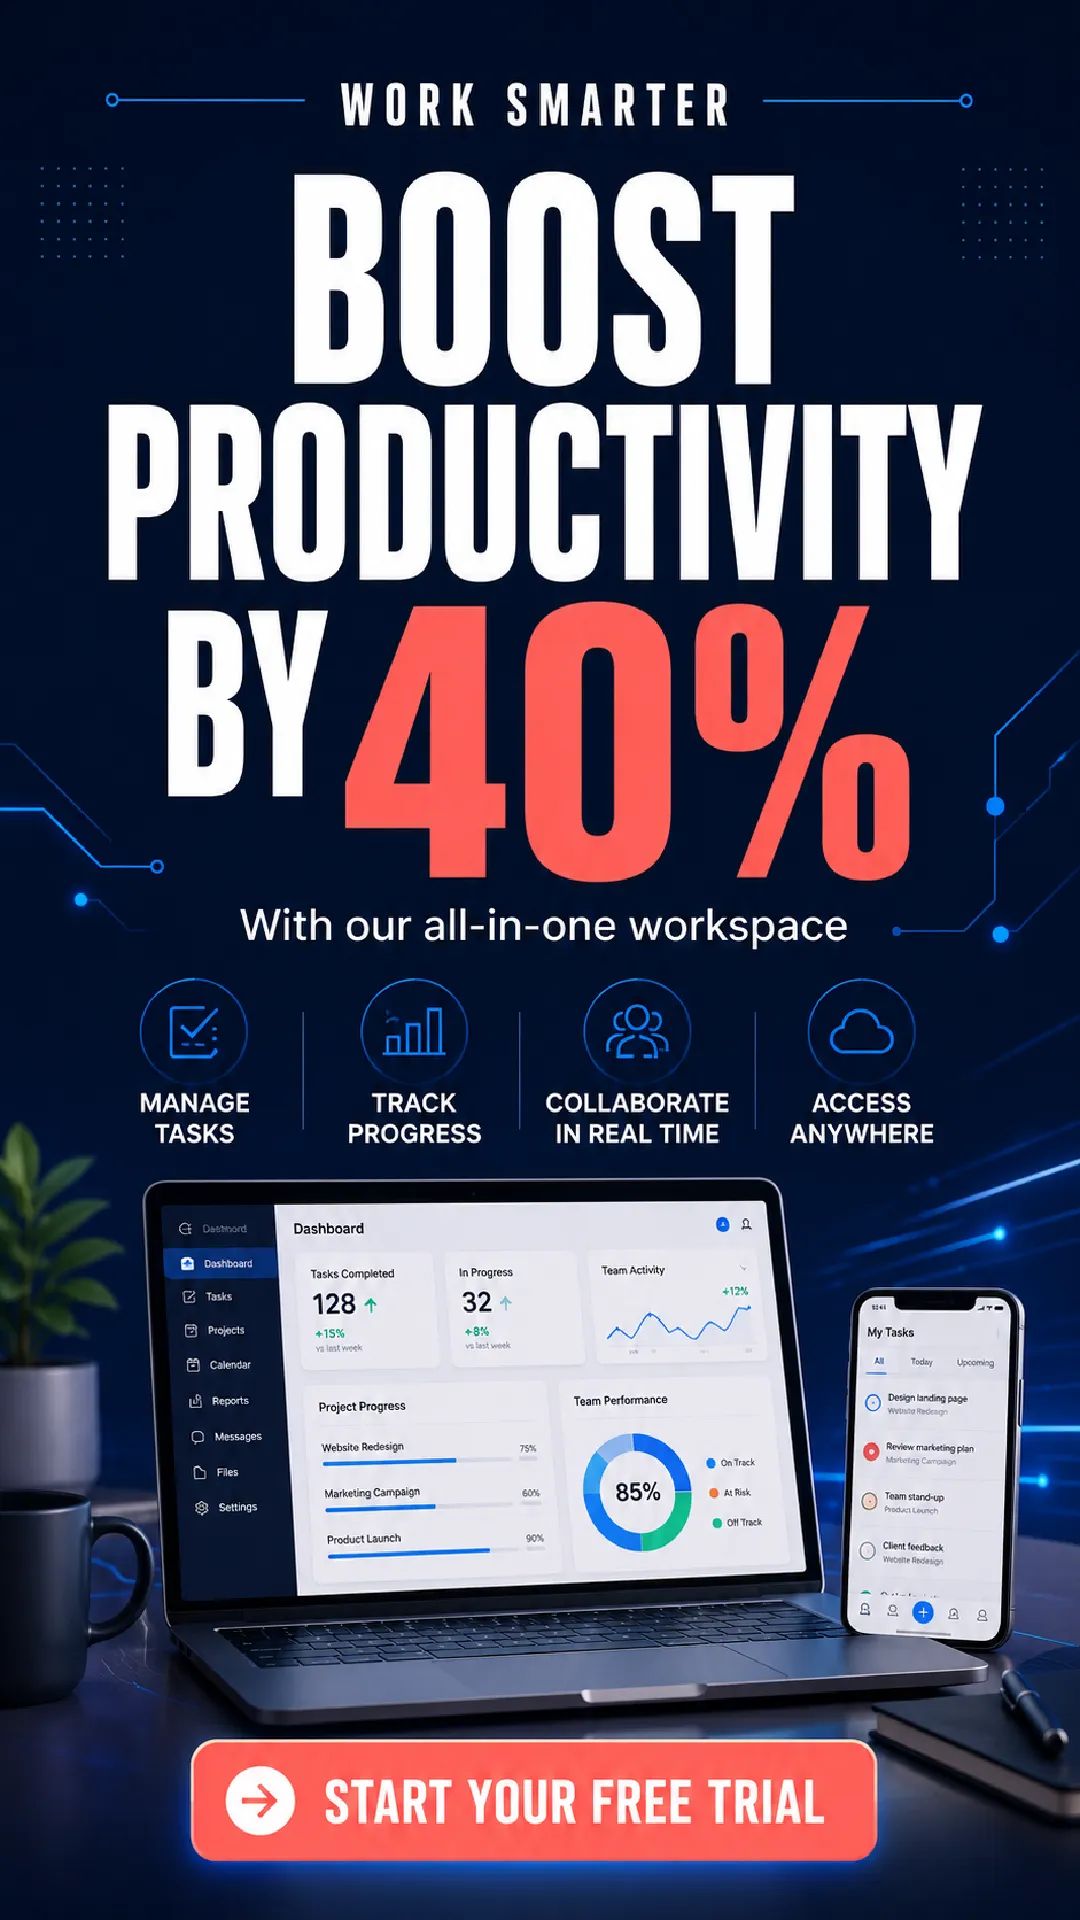
My image needs to make sense before I add audio. I check it at phone size and look for a clear headline, enough contrast and a visible next step. If the image contains several competing messages, a voice-over usually makes the result more crowded rather than clearer.
I also confirm names, dates, prices, contact details and claims at this stage. The voice should support approved information, not introduce details that are missing from the image or campaign brief.
I write the script for listening
Text that works on an image does not always sound natural when read aloud. I keep the same meaning, then turn fragments into complete spoken sentences. I usually lead with the main message, add one useful detail and finish with the action I want the viewer to take.
I read the script aloud once before generating the voice. This catches long sentences, repeated words and awkward transitions. If I cannot say a line comfortably in one breath, I shorten it or split it.
- Open with the subject or offer shown in the image
- Use one or two details that help the viewer decide
- Say numbers, abbreviations and URLs the way they should be pronounced
- End with one clear next step
I choose a voice after the script is final
I select the language and voice after the wording is stable. Then I preview names, numbers and unfamiliar terms instead of judging the voice from a generic sample. A voice can sound right in isolation and still pronounce the campaign copy incorrectly.
If the delivery feels rushed, I shorten the script before changing the speed. This keeps the video easy to follow and avoids forcing a long message into a short format.
I match the duration to the spoken message
The voice determines the minimum useful length of the video. I leave enough time for the final words to finish and for the call to action to remain visible. I do not add several seconds only to make the file feel more like a conventional video.
For a vertical social post, I keep important text away from the top and bottom interface areas. The image remains stable while the voice plays, so the viewer can listen and scan the visual at the same time.
I review the image and voice together
My final review is about consistency. I listen for any spoken detail that conflicts with the image and check whether the visible call to action matches the spoken one. I also watch the complete export with sound off because some viewers will only read the image.
If something is wrong, I return to the source that owns it. I correct visual text in the image and pronunciation or pacing in the script or voice settings. This is more reliable than trying to hide a source error in the final export.
My image-to-voice-over-video checklist
In PosterSpeak, I can upload an existing image or create a poster, add the approved script, choose a voice and render the result as a vertical video. Keeping each decision separate makes the image to voice over video workflow easier to review and repeat.
- The image communicates one clear idea at phone size
- Every date, price, name and claim is confirmed
- The script sounds natural when read aloud
- The selected voice pronounces important terms correctly
- The video lasts long enough for the complete message
- The visual and spoken calls to action match
- The exported video works with sound on and sound off